Recorded sessions must be received by 22 July 2020
1. Contributed presentations will be allocated a 12 minute time slot in which their pre-recorded session will be ran via a LIVE Zoom webinar. During this time the presenter (or co-author) must be present on Zoom to answer questions and participate in the discussion with attendees.
2. Instructions on how to record a talk using Zoom are below.
3. Once you have recorded your session please upload it in to the ScholarOne abstract system (https://ibc2020.abstractcentral.com/submission). You should have received an invitation to upload your presentation. If you have issues accessing your account select "forgot password" to reset your login information.
How to Record a talk using Zoom - Contributed Oral Presentations
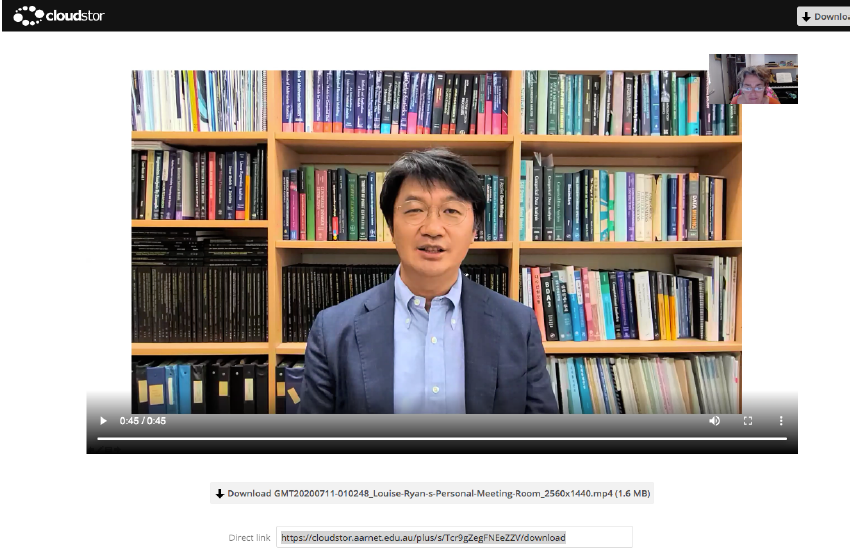
Zoom provides a really great facility for recording your presentation. Following the instructions below will create a video that shows your slides, with a small video box in the corner showing you as you talk. Here is a link to a little example our Organizing President created: https://cloudstor.aarnet.edu.au/plus/s/Tcr9gZegFNEeZZV (password: Y83yRcWp=bWs).
Here is a screen shot:
 You do not have to use Zoom if you have another means that works well for you. Zoom's website has a lot of helpful instructions for either recording and saving on your local computer (https://support.zoom.us/hc/en-us/articles/201362473-Local-Recording) or saving to the cloud (https://support.zoom.us/hc/en-us/articles/203741855-Cloud-recording). Free Zoom account should allow both.
How to record:
1) Log into your zoom account. Go to Settings and select the tab that relates to Recording. Make sure Recording is enabled. Depending on your account you might be able to enable local recording (video will be saved to your computer) or cloud recording.
2) There are a couple of other options that should be set here.
-- Make sure “Record Active Speaker with shared screen” is checked
-- Make sure “Record thumbnails when sharing” is checked
-- All the other things (“Record Gallery View with shared screen” “Record an audio only file”, “save chat messages”, etc.) should be left unchecked.
-- Click “Save”.
3) Start a meeting with your Personal Meeting Room. You will see you have a “Record” button on your Zoom screen. Do not start it yet!
4) Make sure your video is on!
5) Go back into Zoom, click “Share Screen” and select your presentation (do not select Desktop, but just PowerPoint or Adobe or whatever program you are using to give your presentation). You should see a little notification “You are screen sharing”.
6) Go back to your presentation and get it to full screen, as though you were giving your presentation to an actual audience. You should also see a little box in the corner showing you as the active speaker. Try to ignore it from here on!
7) There should be a little Zoom panel somewhere at the edge of your screen. Hover your mouse over it and you will see more options. Select “Record” and then give your presentation. When you are finished, hover over the Zoom panel and click “Stop Recording”. It will then tell you that it is going to save either to your local machine or the cloud, depending on your setup.
8) Now click “Stop Screen Share” and close your Zoom session. This step is important since it triggers Zoom to create the file with your video and send you the link.
9) If you have “stored to the cloud”, you will get an email from AARNET Cloud Recordings with a link to your video and a password. When you open the link, you will have an option to download the video.
10) Please upload your video to the ScholarOne repository we’ve invited you to at https://ibc2020.abstractcentral.com/login.
Preparing a talk? (Pre-recorded or live)
- Where to set up? You need a quiet space, away from interruptions (people, pets), ideally with good natural lighting.
- Background - it should not be bright (do NOT sit with a window behind you), and not distracting. Best not to sit against a wall either - that's just boring! Virtual backgrounds can help if you can’t find the right space.
- Where’s the camera? It should be at eye-level (or ideally, slightly higher and facing slightly downwards). If using a laptop webcam, you could try sitting the laptop on a big pot!
- Lighting - your face needs to be lit, and brighter than the background, so people can see it. During daylight hours you could face a window. Otherwise try a lamp.
- Showing code? Make your screen low resolution, so it is readable, or blow up font size.
- Look at the camera! It can be hard to avoid watching yourself, but please try.
- You need good audio - headphones with mic sounds much better than a laptop mic. A Bluetooth mic would be better yet.